Hogwarts
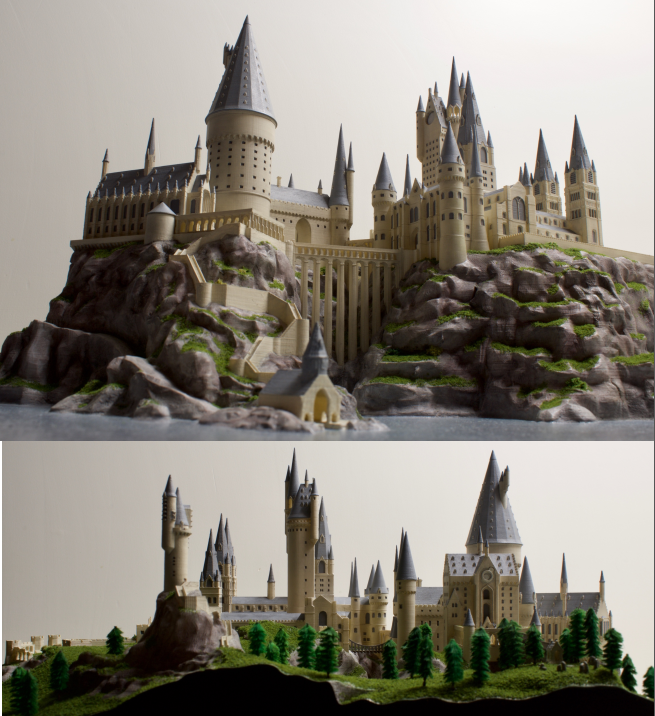
This is a 3d printed sculpture. I found a set of files online for the Hogwarts Castle that is actually a kit. The one I really wanted to do (I so wanted to do the landscaping and larger detail) comes in highly detailed parts and the final assembly is around 18" x 18" x 13"h. But there is a problem, the files can be confusing. Over time the author of said files has made modifications and or updates. He then left all the old files in the folder, and some people cannot make sense of them. I went through a half dozen people trying to get the parts printed with no luck. Several people couldn't make sense of the files and claimed it could not be printed. One guy claimed he could do it and I hired him. Told me I could have the parts in four weeks. Four months later he was still printing them, he would never state what the problem was. After I complained about the time taken with no delivery date available, he promptly returned my money. Again, with no explanation. There is an extensive instruction booklet that explains the printing settings, what files to use for what assembly and the assembly procedures. As far as I can tell none of the half dozen or so people I approached, ever even looked at it. Three of the people actually said, "What instruction booklet?" It's in with files and is named PRINTING INSTRUCTIONS.
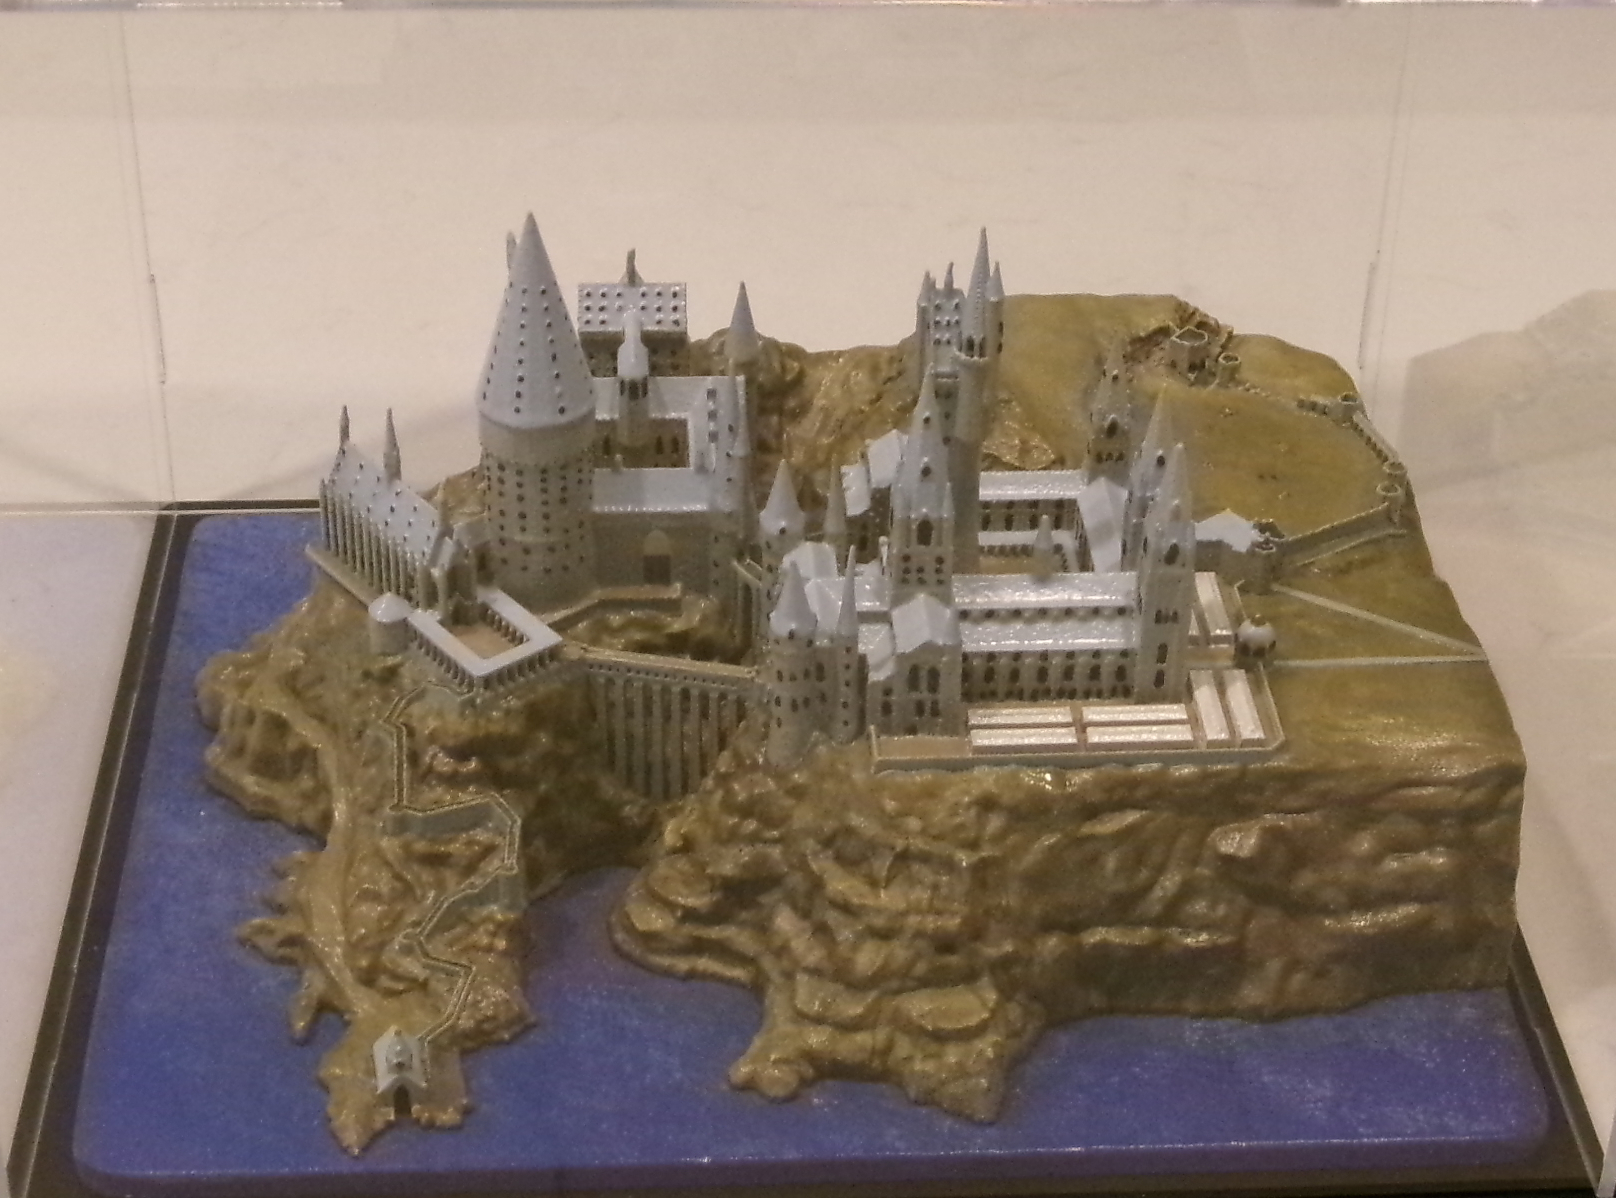
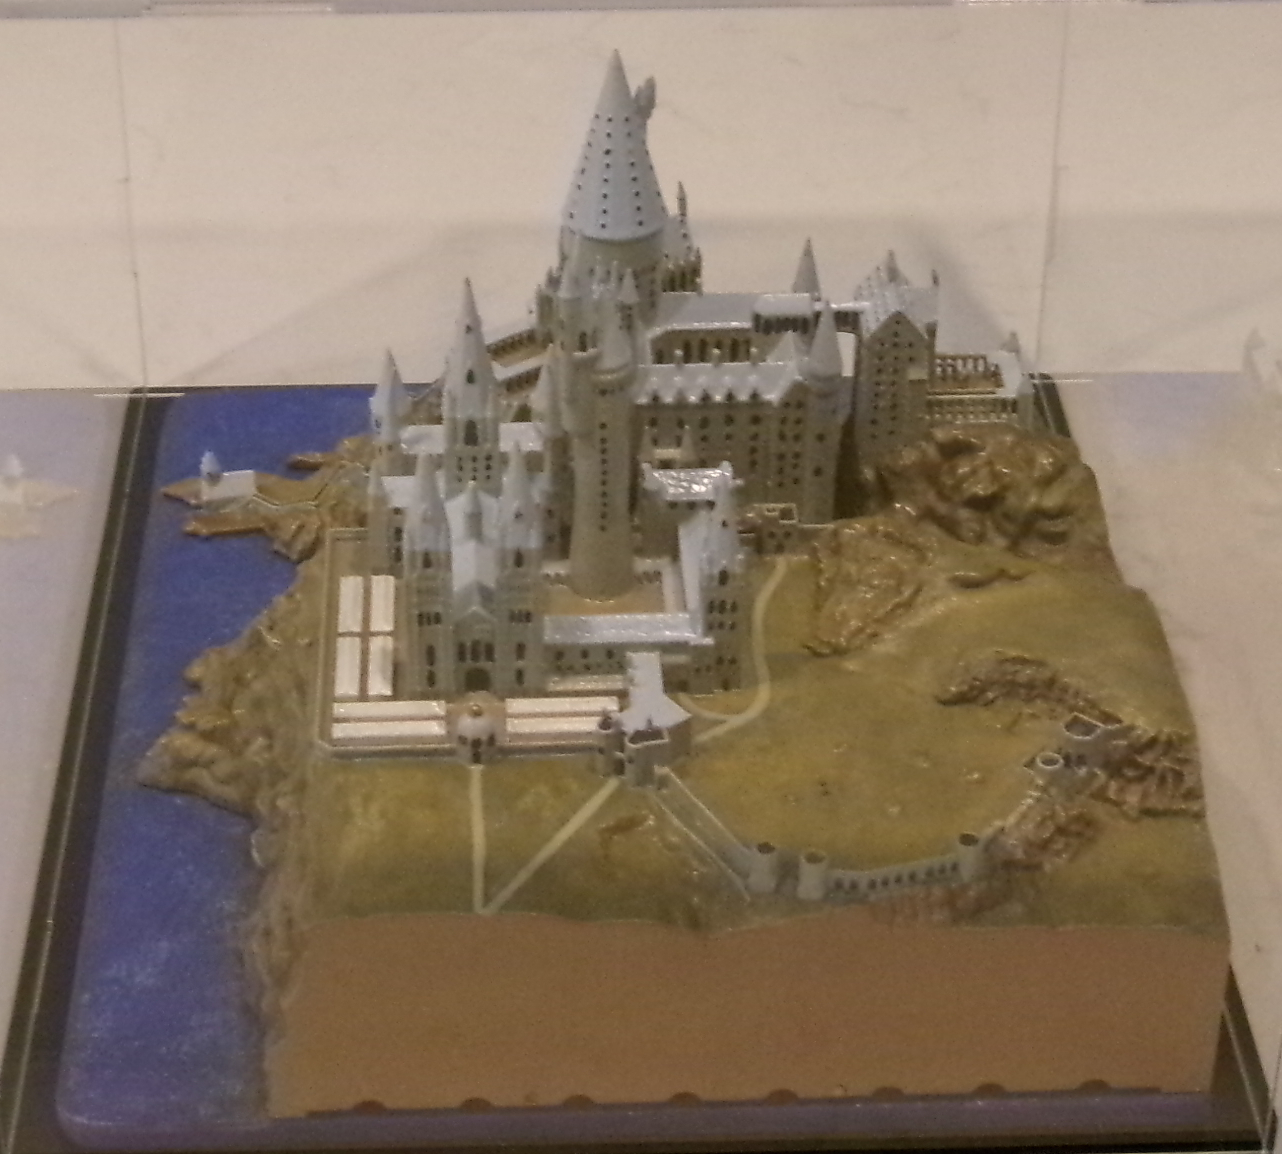
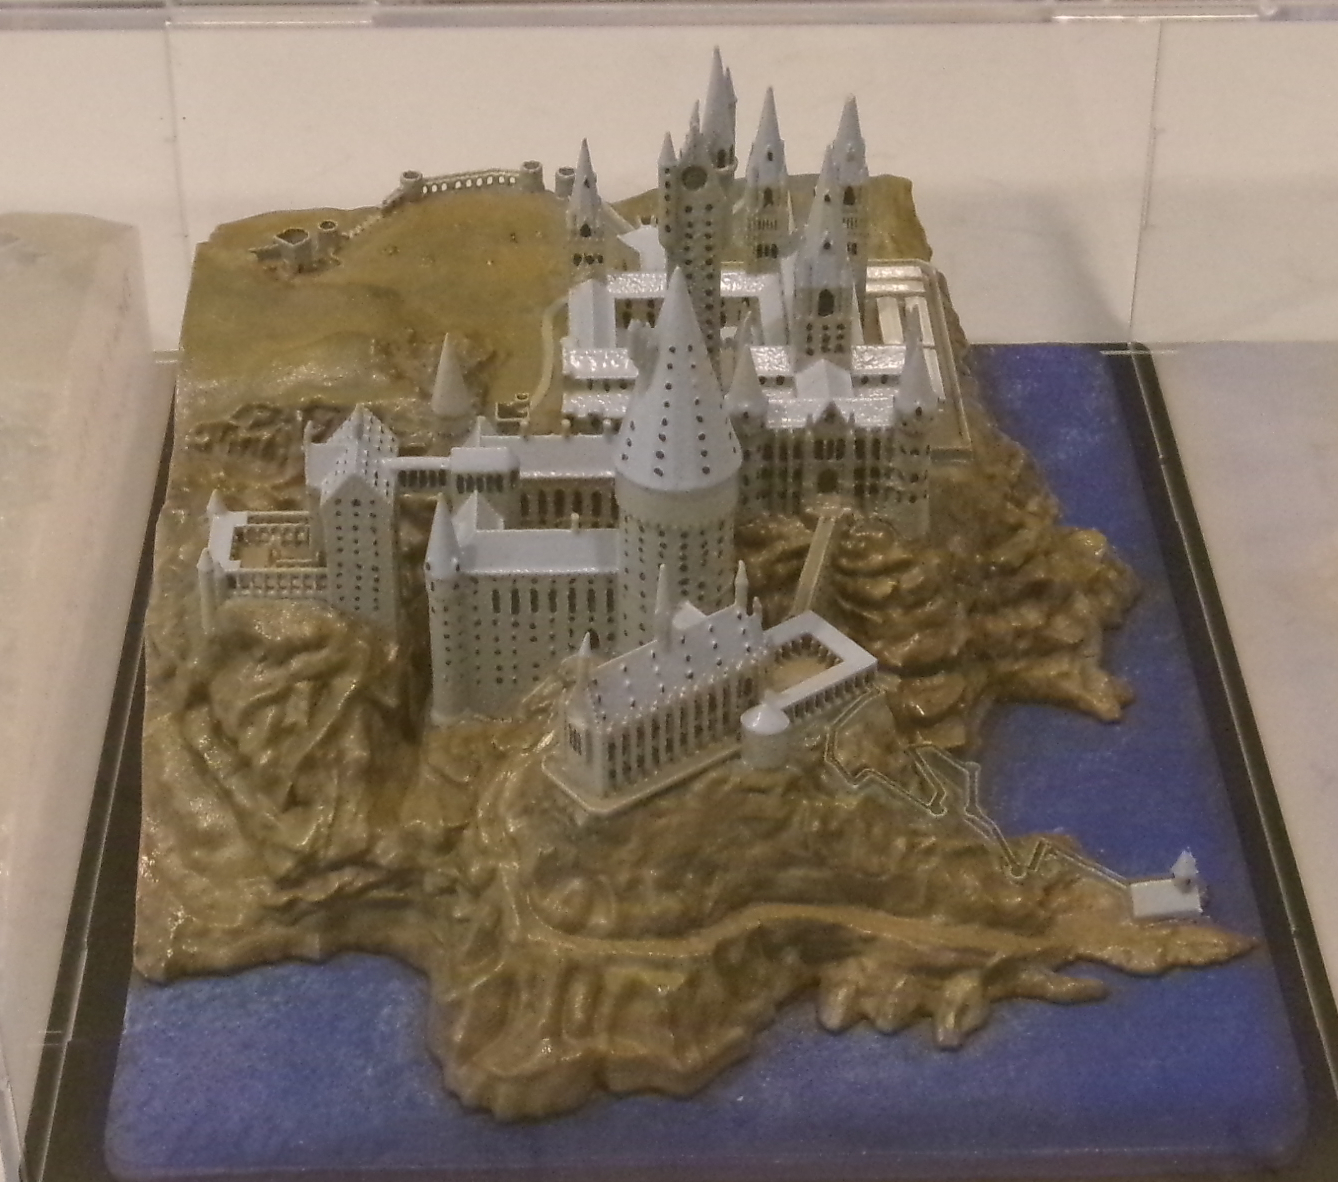
So, I identified the master file and adjusted it so that I could scale it up and down. I found a company (Xfinity) who was willing to print it. I played with the scale and submitted different files to them until one came back with a price I could afford. (Well somewhat. Turns out, 3d printing can be very expensive.) This is a birthday gift for my daughter, so the price was doable. The print I ordered is 9"w x 7"d x 5.5"h. Made of Nylon 12 with walls about 0.020" thick, which turns out is very porous. It sucks up acrylic paints just like a sponge. The paint would go right through the walls a spread out in the nylon. After discovering this I sealed the exterior surface with Modge Podge Clear Matt spray. To get it sealed took about 15 light coats of the clear, but that also filled in some of the detail. Oh, well.
I used Valleho acrylics (Model and Model Air) The surface does not help when trying to paint it so things like the rocks got a little muddled. There are nine layers of various colors on the rocks alone. I cannot get a camera to bring out what the eye sees. To me, the rocks came out great. The absolute hardest part of this was trying to get the windows a uniform size. After a half dozen tries, I gave up. The more I tried to fix it the worse they got. So, It is what it is. Once I put it in a display case and it's on her shelf it will be just fine. (Thank God for the 3-foot rule.) *
And so, to the pictures.
In the Beginning - The Raw Print
https://andre-norton.com/special-sections/93-house-of-models/1259-hogwarts-castle#sigProId229e4ceaaa
Some Working Photo's
https://andre-norton.com/special-sections/93-house-of-models/1259-hogwarts-castle#sigProIdf3ceb228d9
After the Rocks
https://andre-norton.com/special-sections/93-house-of-models/1259-hogwarts-castle#sigProId2e393c520f
The Roof is On
https://andre-norton.com/special-sections/93-house-of-models/1259-hogwarts-castle#sigProIdce5b21d6fe
The End Results
https://andre-norton.com/special-sections/93-house-of-models/1259-hogwarts-castle#sigProId1765573c0e
In the Display Case
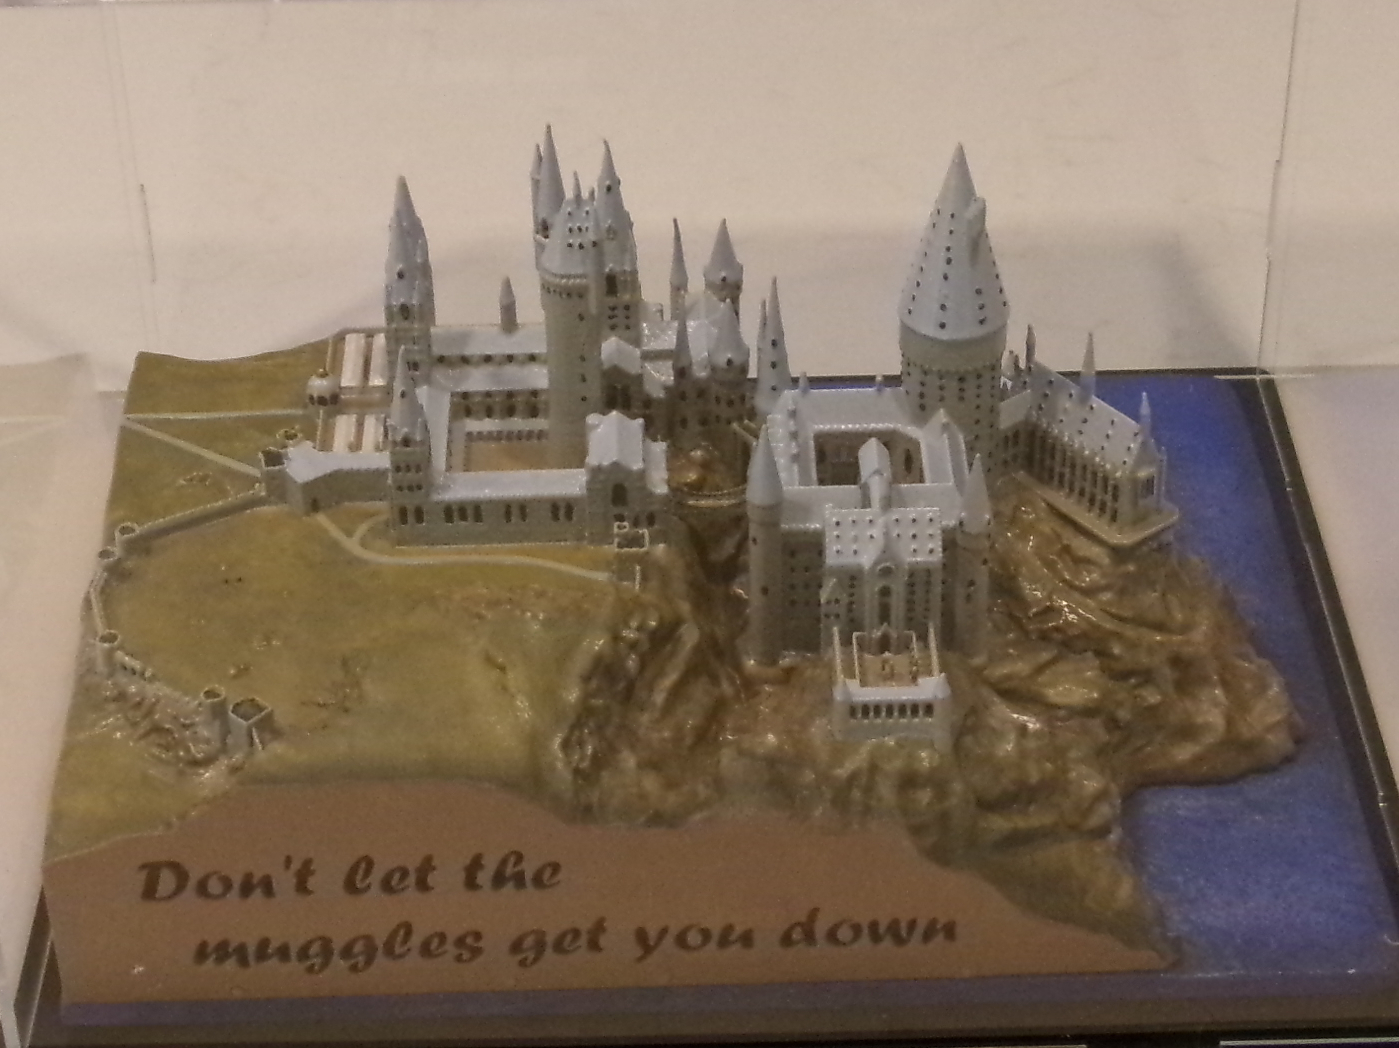
* 3-foot rule - If it looks good from 3 feet away then it's good enough. 3 feet is as close as you're going to get at any Museum or Show.


